How It Works

1

Generate an RSA key pair

openssl genpkey -algorithm RSA -out private_key.pem -pkeyopt rsa_keygen_bits:2048
openssl rsa -pubout -in private_key.pem -out public_key.pem

Store your private key securely. You will need it to sign access tokens later.

2

Setup your account

Log in to https://console.rye.com, and update the public key field in your account settings.

3

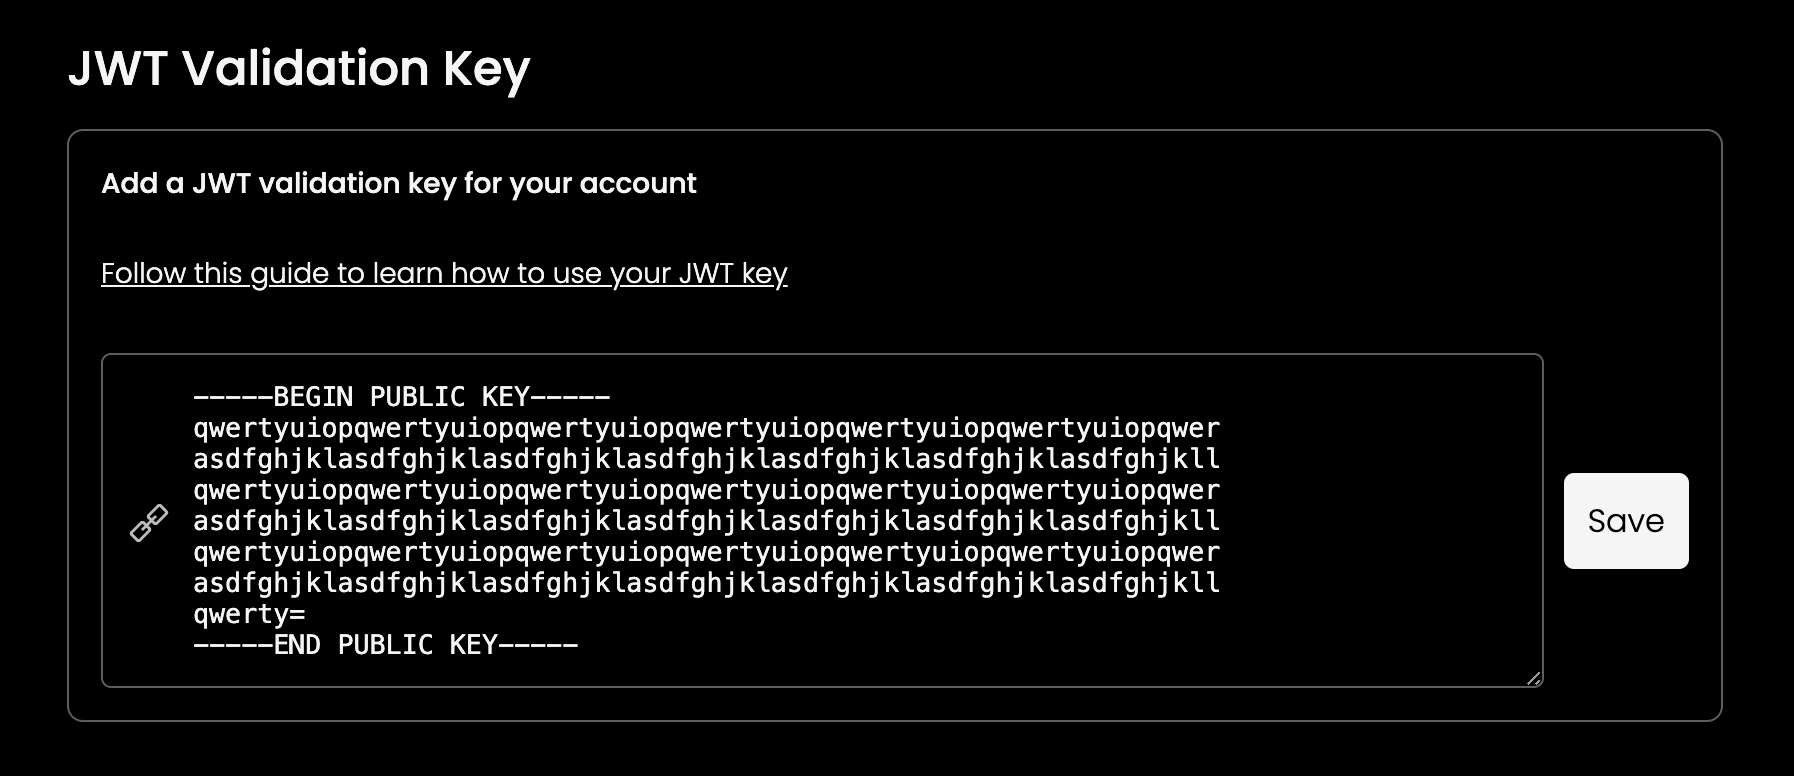
Generate access tokens

Create an endpoint within your backend system designed to generate and provide access tokens for your frontend application.

  import jwt from 'jsonwebtoken';

  function generateToken(): string {
    return jwt.sign(
      {},
      RSA_PRIVATE_KEY,          // The private key generated in Step 1.
      {
        algorithm: 'RS256',
        expiresIn: '1h',        // Rye's policy restricts TTL durations to a maximum of one hour.
        audience: JWT_AUDIENCE, // graphql.api.rye.com for production, staging.graphql.api.rye.com for staging.
        issuer: JWT_ISSUER,     // Your unique issuer value can be found in the Rye console under the Account tab. Note this value is unique per environment (staging vs production)
      }
    );
  }
4

Use the access token

Include the access token within the Authorization header for any requests made to the Rye API.

  const response = await axios.post(
    RYE_API_ENDPOINT,
    GRAPHQL_REQUEST_BODY,
    {
      headers: {
        'Authorization': `Bearer ${JWT_TOKEN}`,
      },
    }
  );

When utilizing JWT authentication, there’s no need to include the Rye-Shopper-IP header in your requests, as Rye will automatically use the client’s IP address.