Part 1: Set Up a Shopify Store with a Test Product
- Log in/Create your Shopify account on Shopify Partners.
-
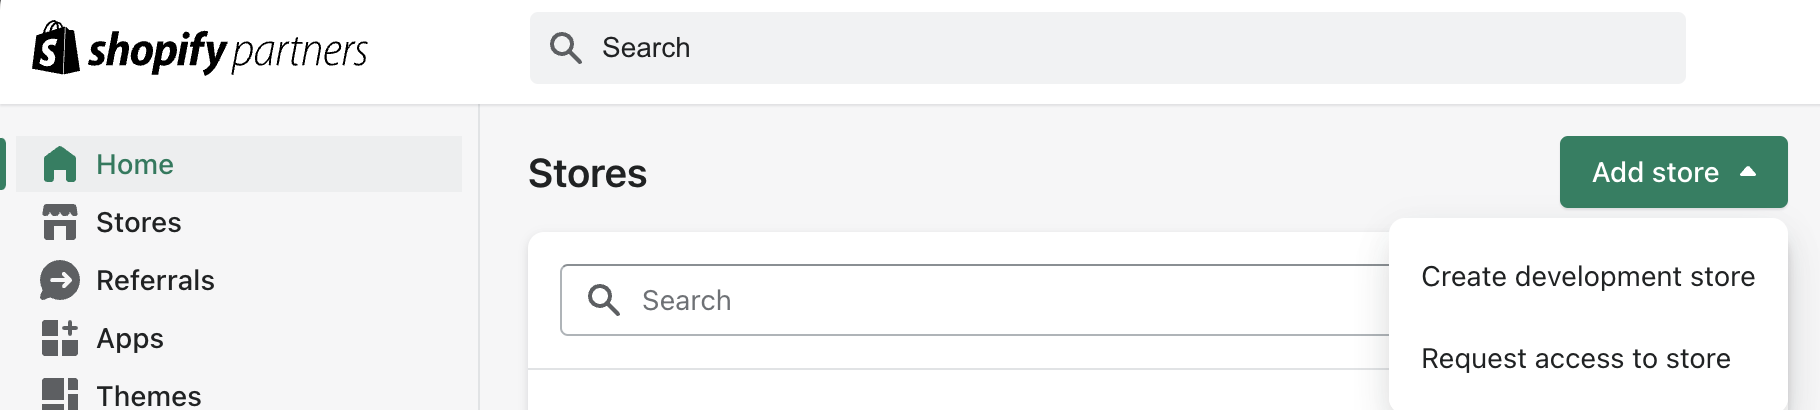
Click on “Add store” -> “Create development store”
-
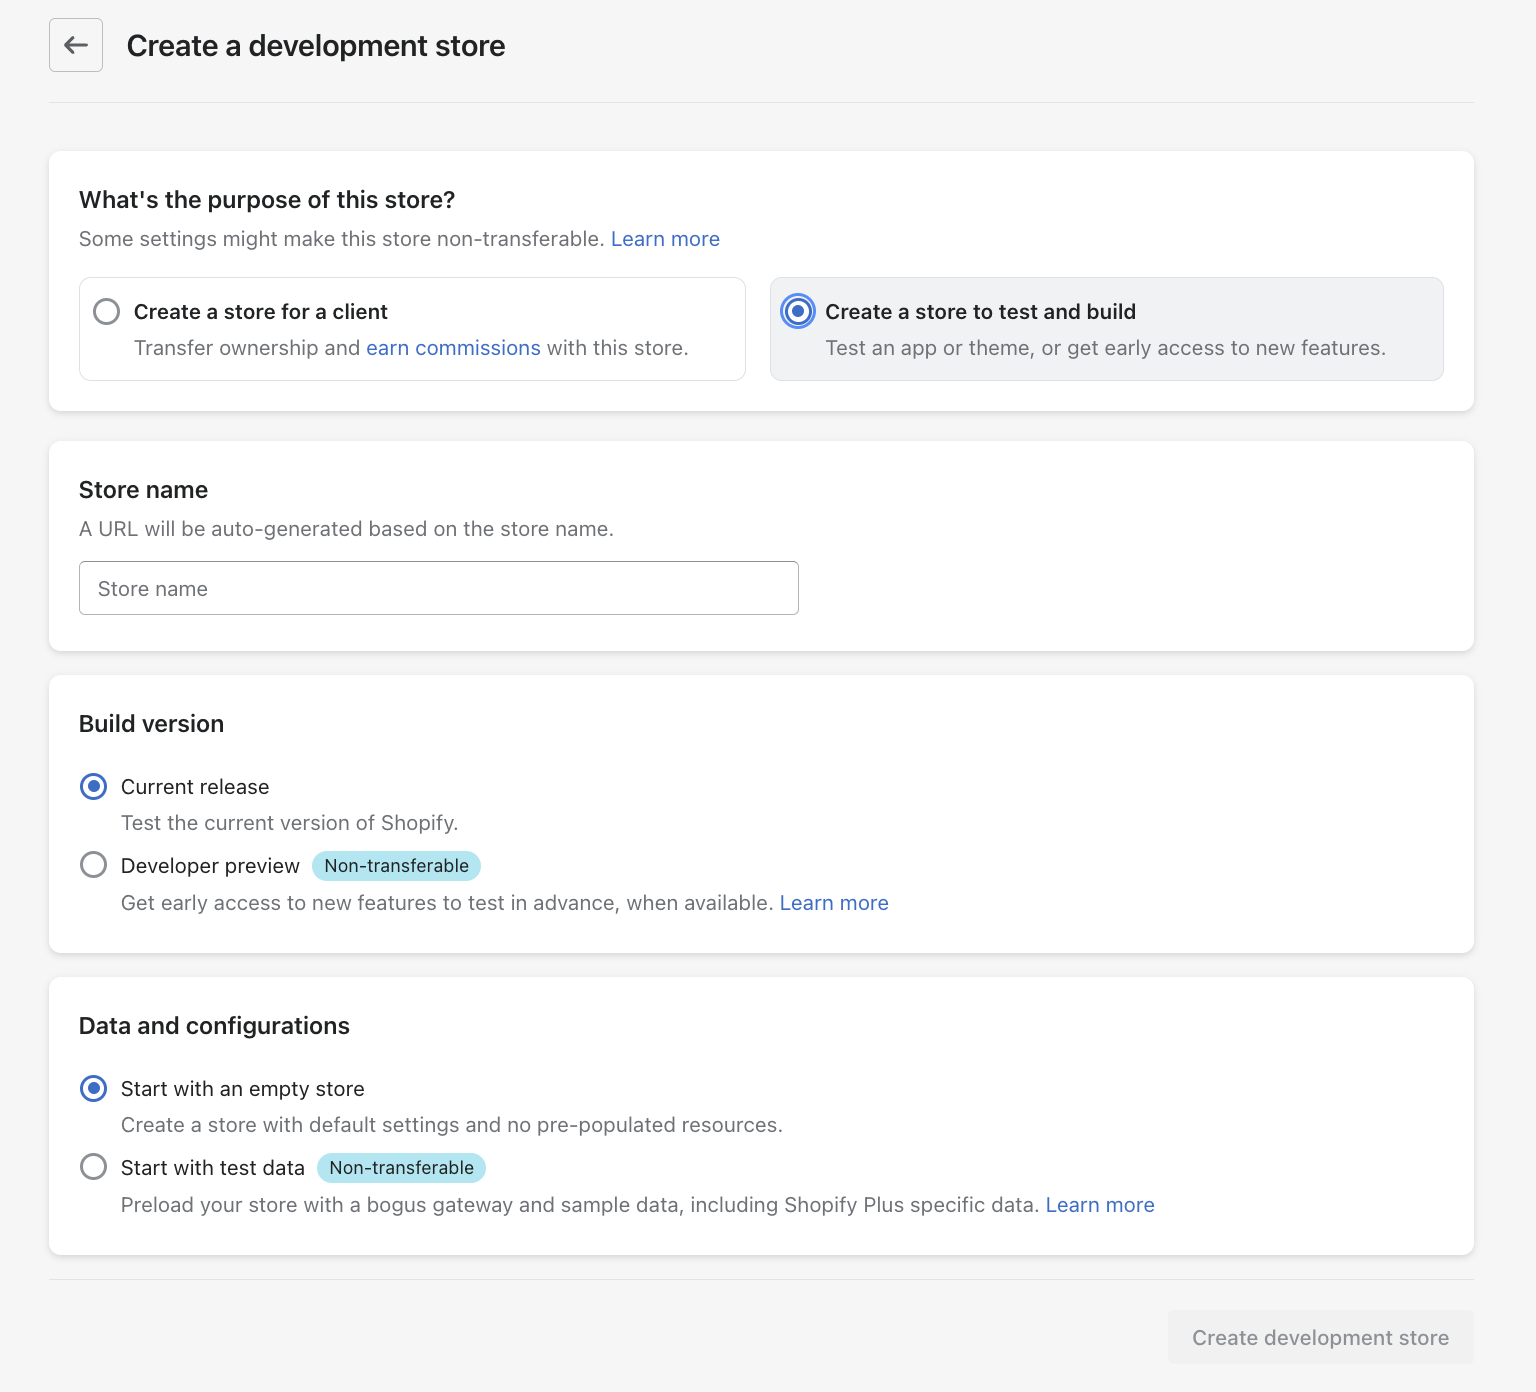
Select the “Create a store to test and build” option and fill out the details.
- Click on “Start with test data” if you’d like to start with some pre-filled products to your store.
-
Once that’s complete, click on “Create development store”.
-
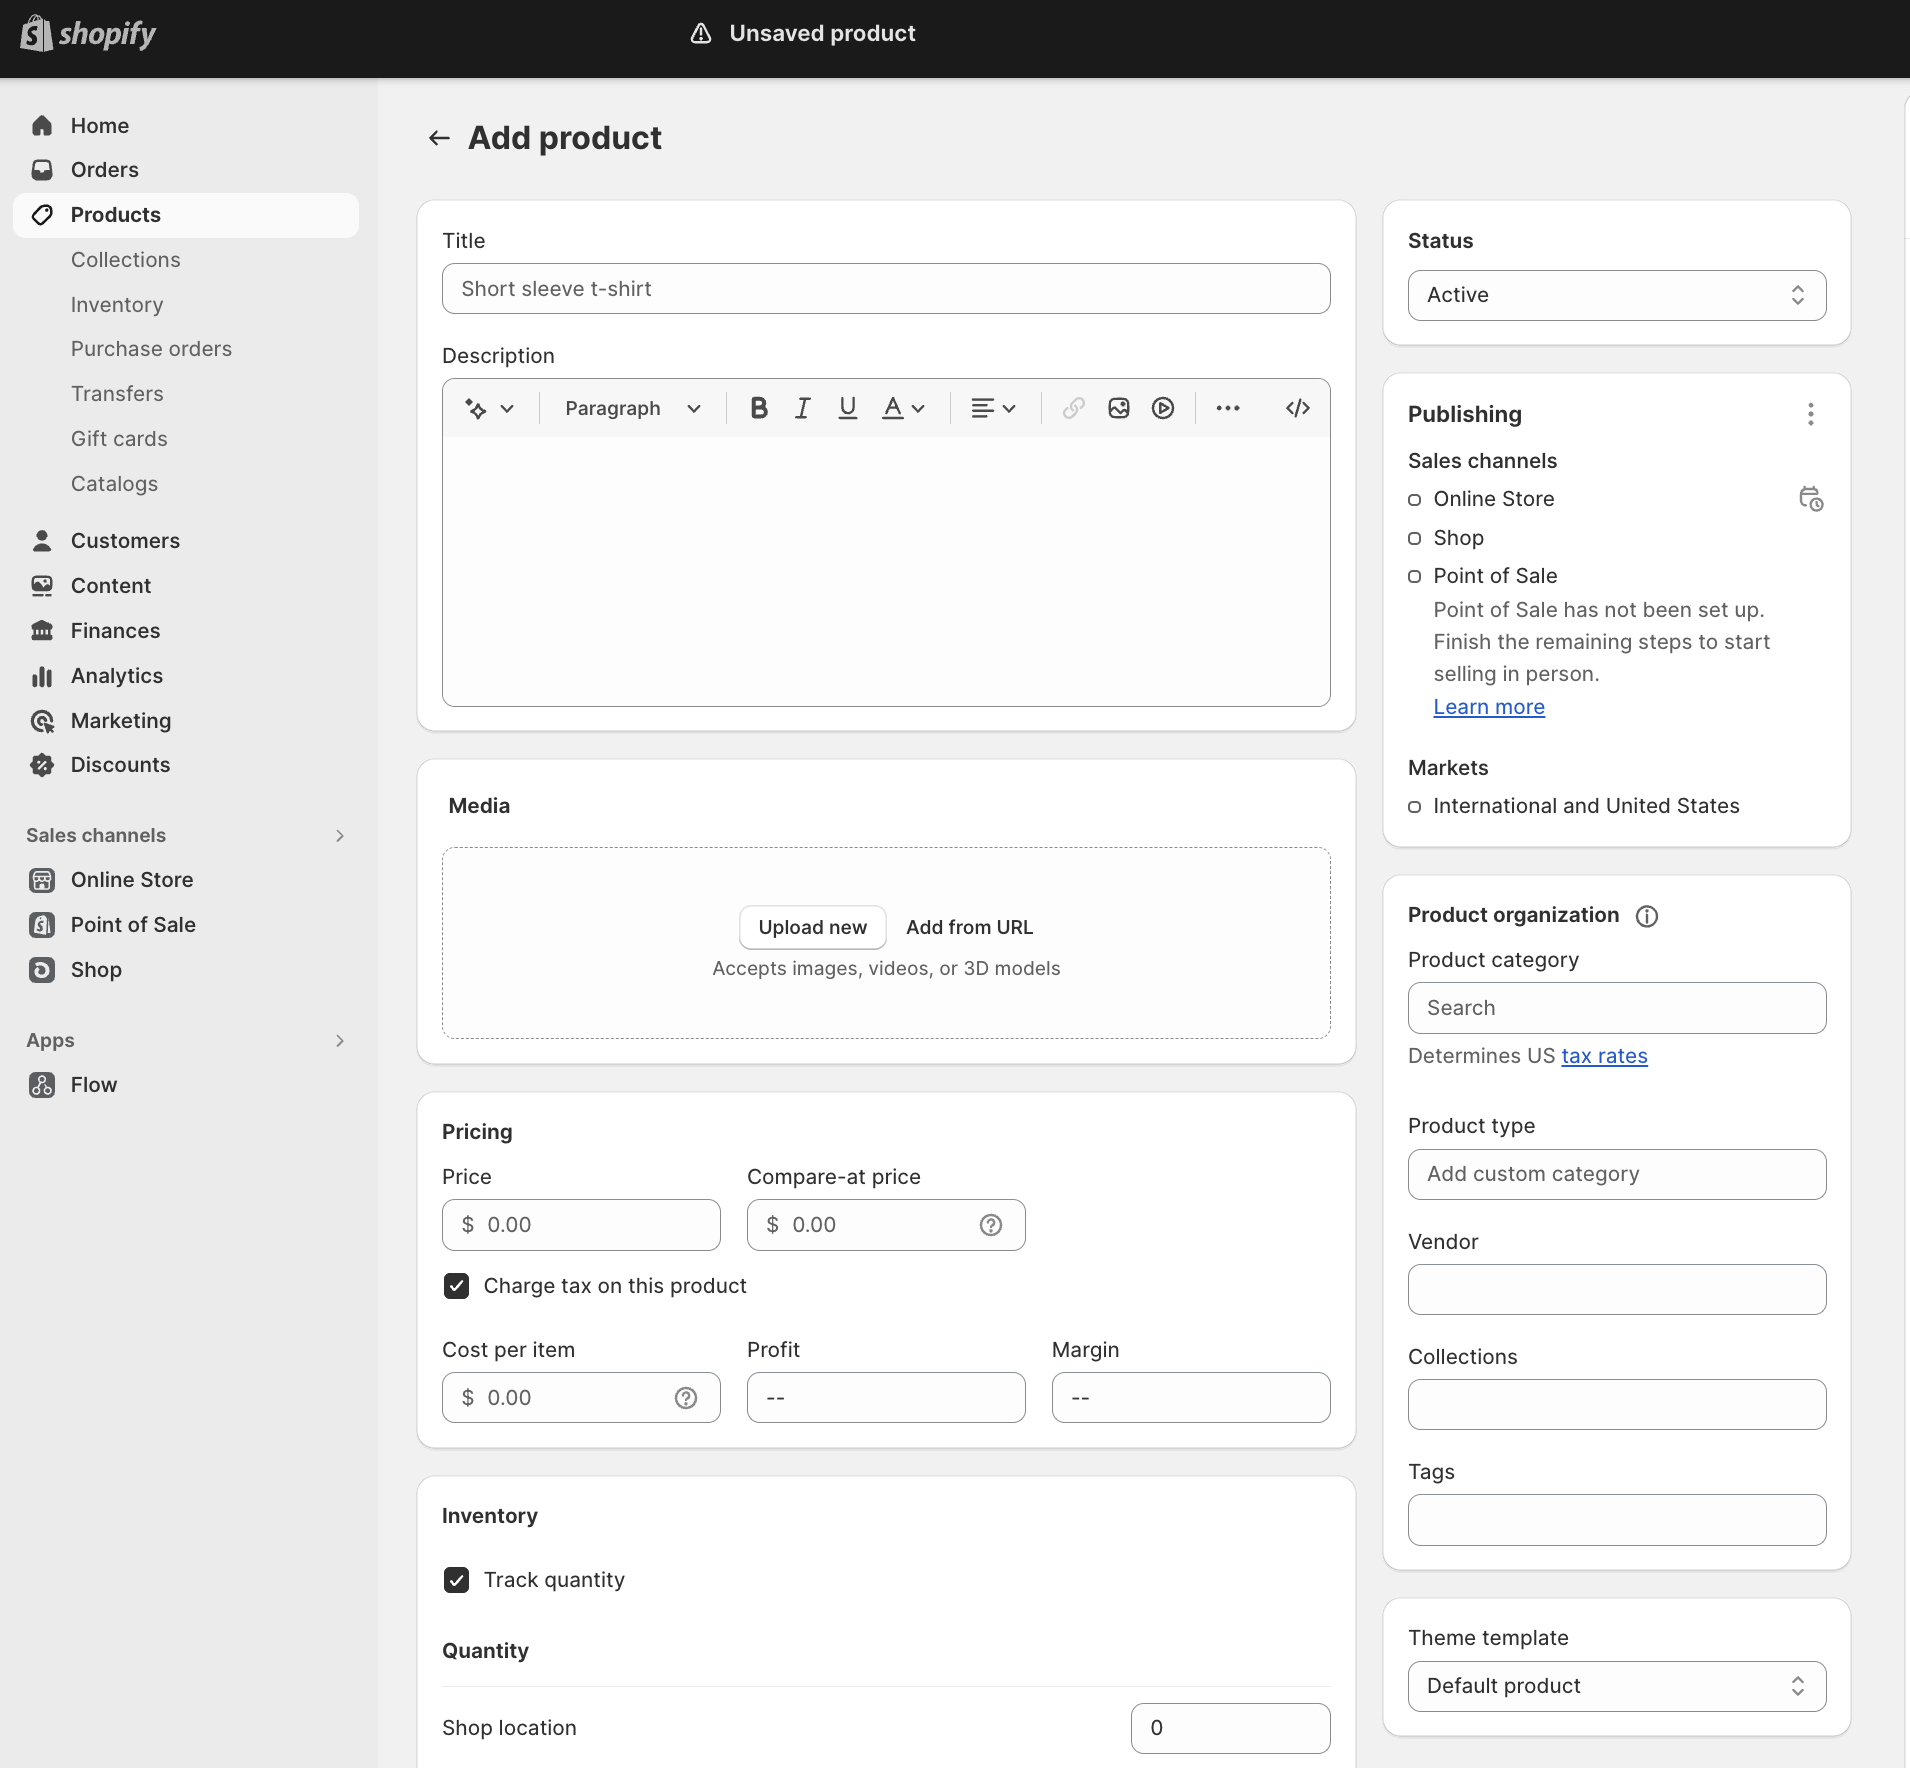
Now to add your own product:
- Go to “Products” -> “Add your products”
- Fill out the product details
-
Click on “Save”
-
Now to set up test payments:
- Click on “Settings” (on the bottom left of the page)
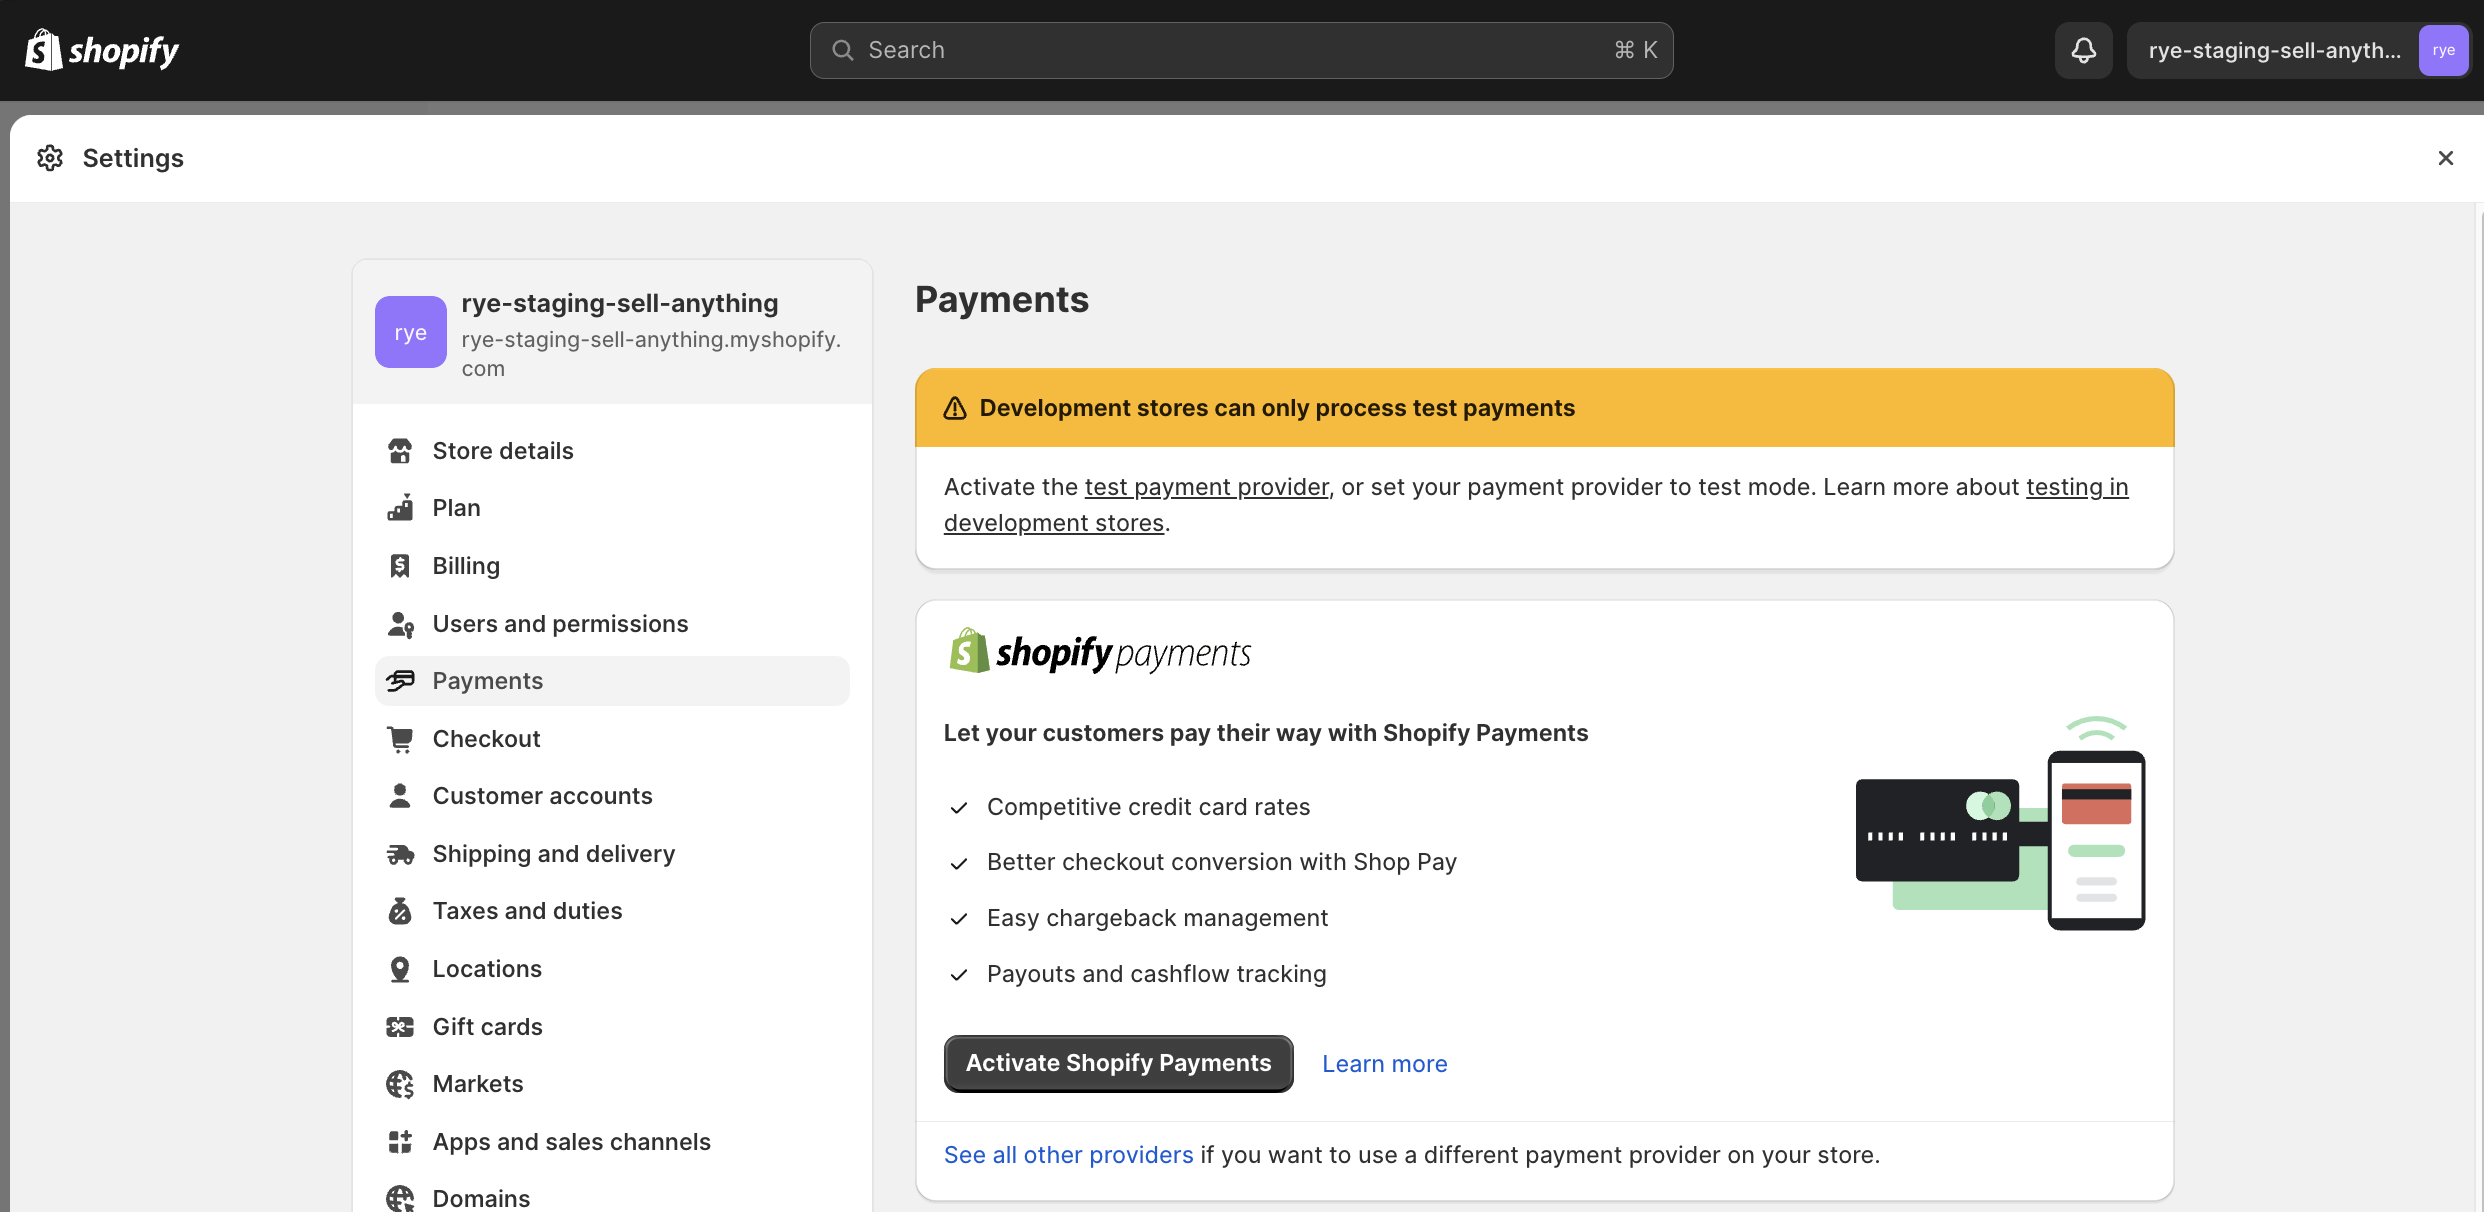
- Go to “Payments” -> “Activate Shopify Payments”
-
- Fill out the Address details and click on “Next”
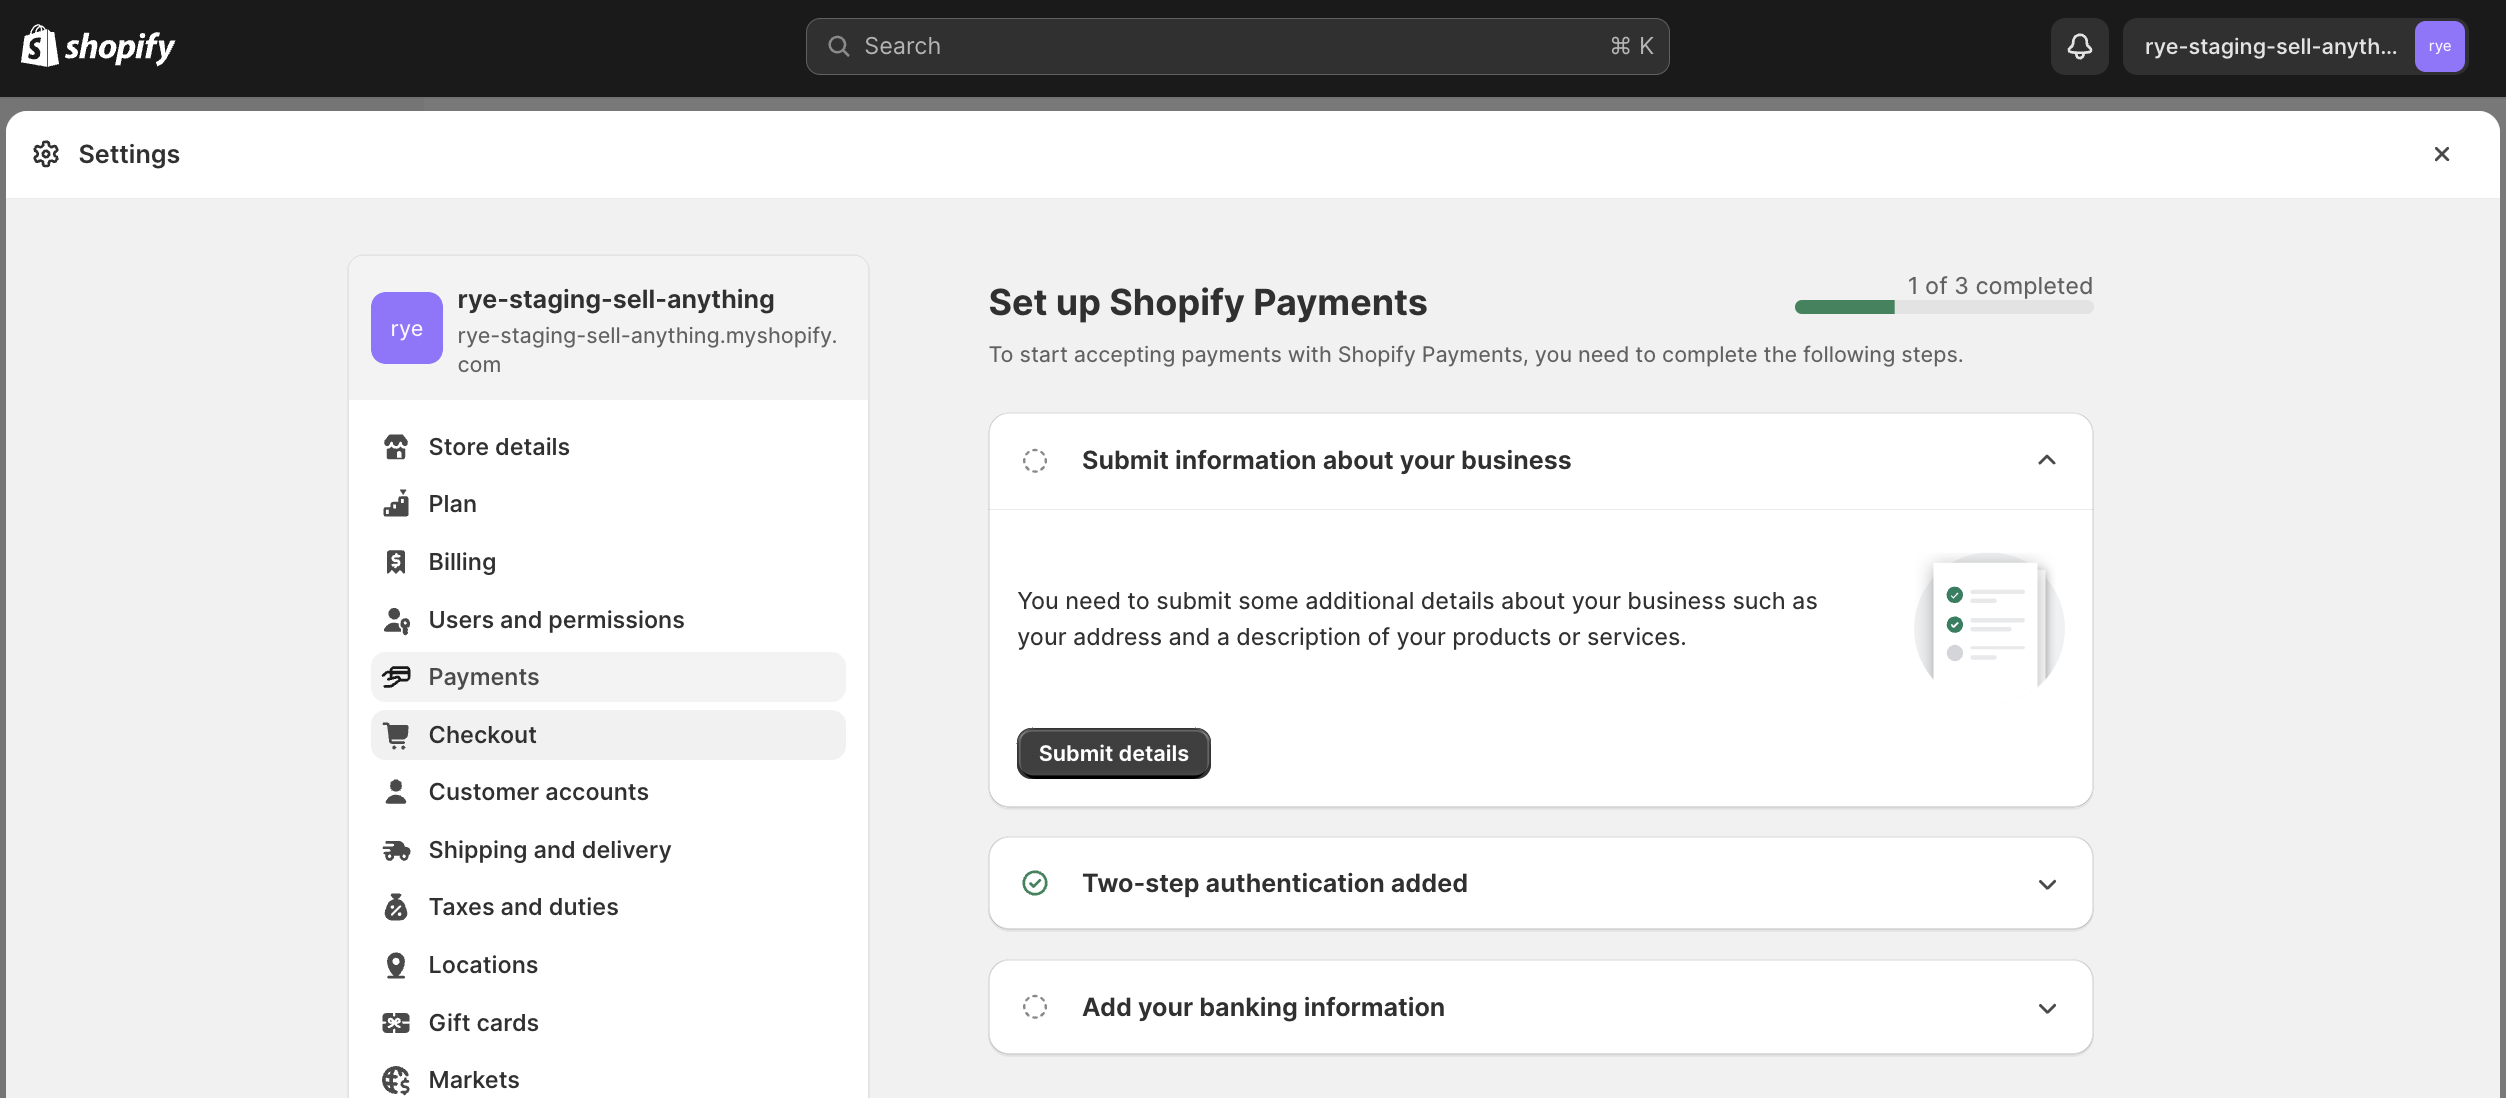
- Under the “Submit information about your business”, click on “Submit details”
-
- Fill in the information and click on “Submit for verification”
-
In Payments Enable Shopify Payments by clicking “Switch to Shopify Payments” -> “Activate Shopify Payment”
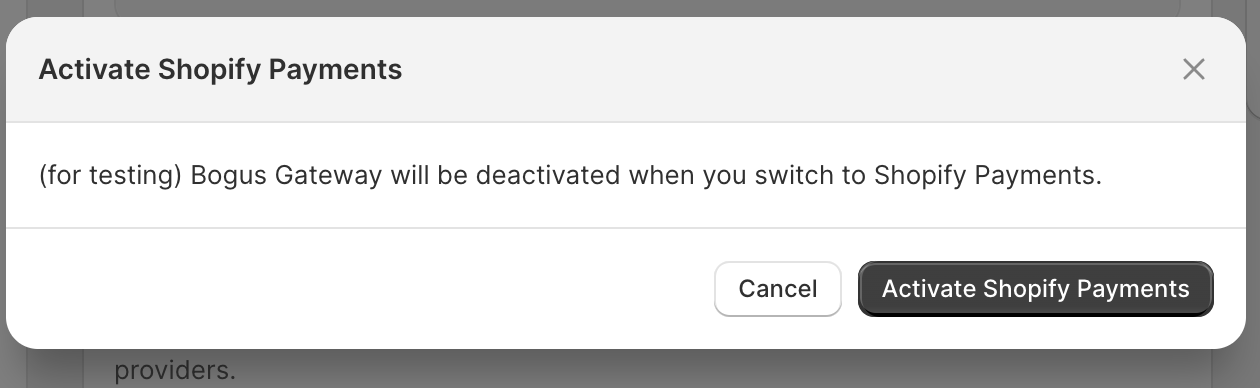
- Fill in the required information in order to enable Shopify Payments.
-
Enable Test Mode for Shopify Payments
-
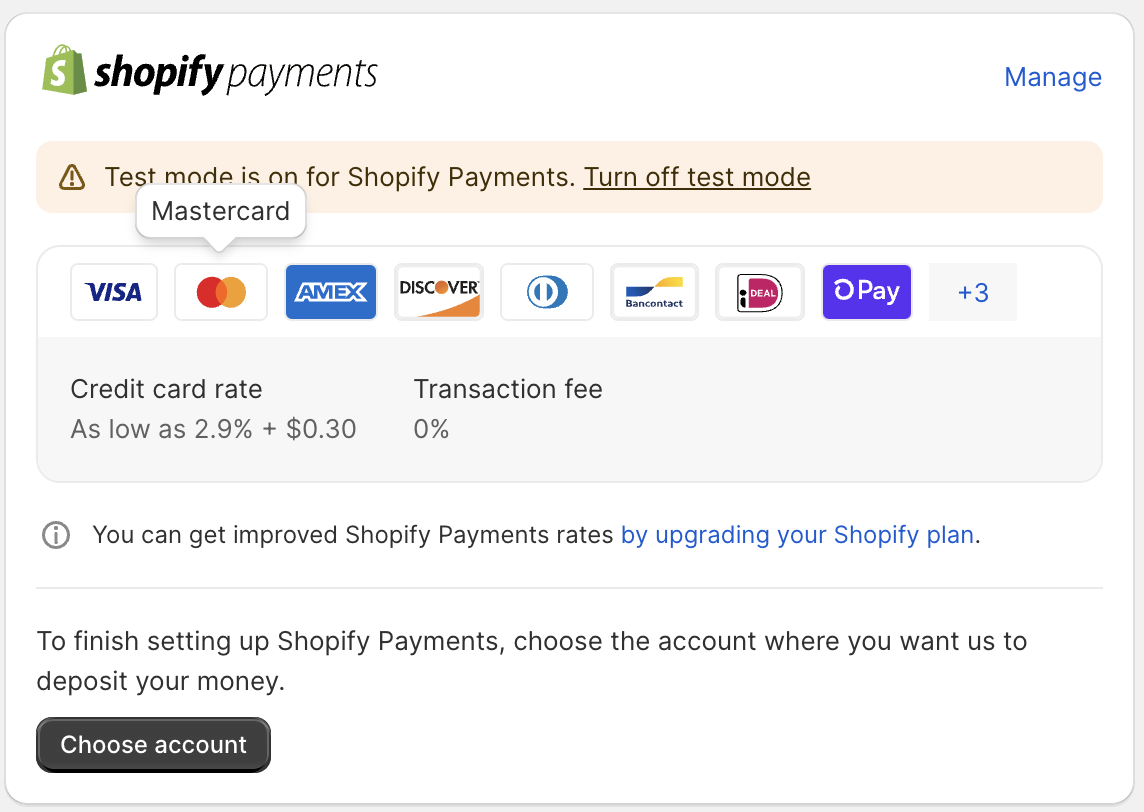
Click “Manage” on the Shopify Payments section
-
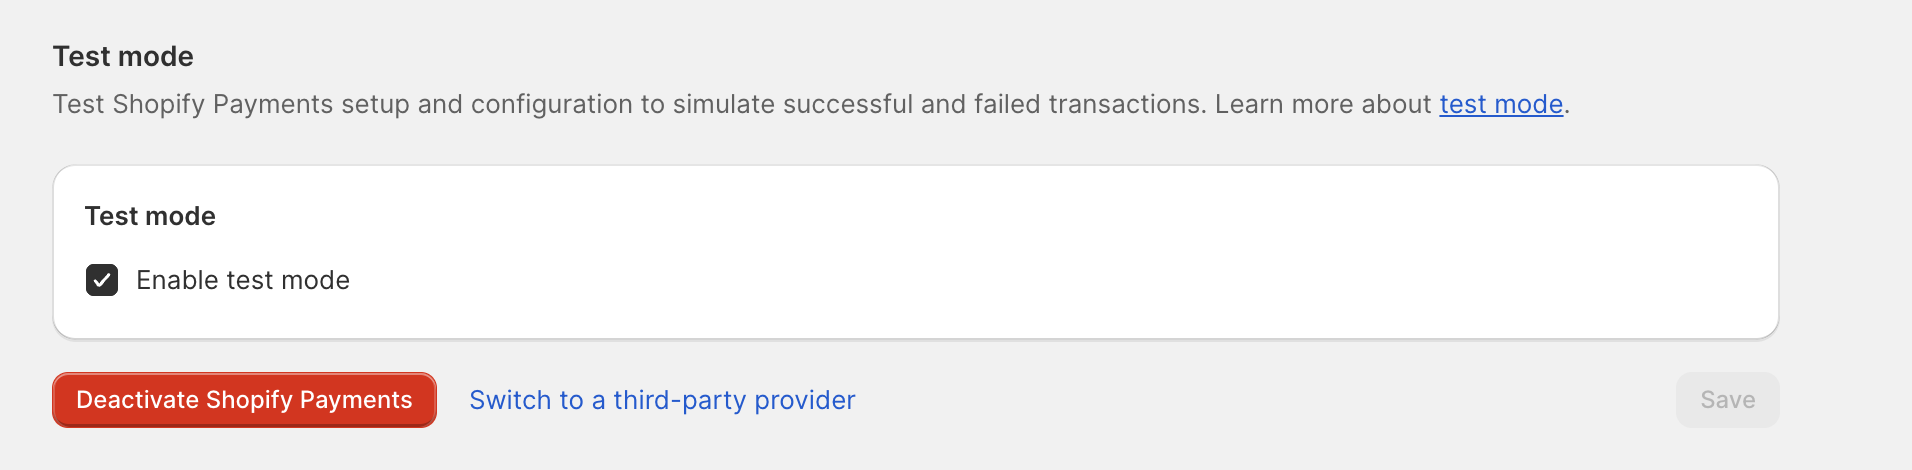
Scroll to the bottom of the next screen and check “Enable test mode” and click “Save”
-
Click “Manage” on the Shopify Payments section
- Publish your Shopify store to remove the password and test the API
Part 2: Send a Test Order from Rye to the Shopify Store
- Follow the Quickstart guide, then copy the URL of a product from your Shopify store. Use that product URL in your integration to run a test checkout. This will let you place an order and confirm how it flows through the system, including how it appears from the merchant’s side.